This marijuana grow guide will teach you how to grow weed indoors step by step. From seed or clone to harvest, growing your own cannabis is a challenging but rewarding hobby.
This guide will describe how to set up the perfect grow environment for your plants and teach you how to care for them at every stage of life, from germination to harvest.
Table of Contents
- What Does Cannabis Need to grow?
- How Long Does it Take to Grow Cannabis?
- Set up Your Grow Room
- Choose Your Light
- Choose Your Fan
- Choose Your Pots
- Choose Your Growing Medium
- Choose Your Nutrients
- Get Seeds or Clones
- Germinate Your Seeds
- Water Your Plants
- Train Your Plants
- Harvest Your Plants
- Trim Your Plants
- Dry Your Bud
- Cure Your Bud
- Summary
What Does Cannabis Need to grow?
The initial preparations for growing cannabis involve purchasing lights, fans, a grow tent, pots, growing medium, nutrients, and of course the seeds or plants themselves.
To grow a healthy plant, the airflow, humidity and temperature around the plant must be carefully monitored and controlled. Cannabis is an annual plant, and it must be artificially brought through the growth stages of spring, summer, and fall indoors to produce a good harvest.
How Long Does it Take to Grow Cannabis?
Cannabis strains come in either photoperiod or autoflower varieties. Photoperiod plants have an average time from planting to harvest of 4 to 5 months, while autoflowers are typically ready in about 3 months.
Photoperiod plants must be induced to flower by a change in lighting. This is usually done 6-8 weeks after germination. After flowering begins, it can take an additional 8-10 weeks for the buds to ripen and be ready for harvest.
Autoflower strains do not need this change in lighting, and will begin flowering 4-6 weeks after germination, with another 8-10 weeks of flowering time before they are ready to harvest.
Set up Your Grow Room
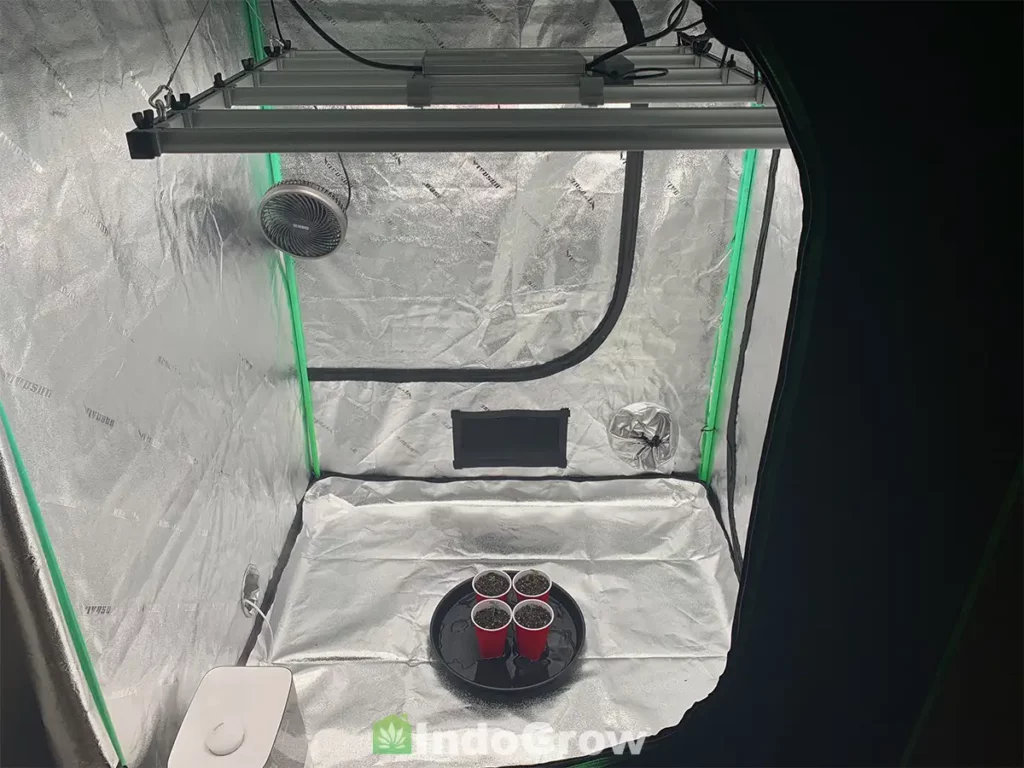
For indoor cannabis grows, most growers will use either a grow tent, a closet/large cabinet, or an entire spare room. Grow tents are generally considered the best option, as they allow for the greatest control over your cannabis plant’s environment.
A grow tent is generally made of plastic tarp, with reflective inner walls made of mylar to maximize light. It will have metal bars along the top which can be used to mount fans, lights, and ducting. A standard small grow tent has a 4×4 foot base and is about 6 feet tall, although much larger tents are also available.
The tent should be set up in a room that does not experience large temperature fluctuations, and will leave enough room on each side of the tent for you to walk around and access the plants from all angles. Make sure the tent will be near electrical outlets to plug the lights and fans into, and near a window or other area that can be used to remove exhaust air.
Choose Your Light
Most home growers now choose LED lighting for their plants, since these lights are space and energy efficient, and do not produce as much heat as many other options on the market.
Choose an LED light with about 32-50 watts (from the wall) per square foot of growing space. For a 4×4 tent, this means that your light should be about 512-800 watts. The absolute minimum light size for a 4×4 tent would be a 400 watt LED light.
For a 5×5 tent, it would be a minimum of 500 watts. Choosing a light with lower wattage may be cheaper at the start, but it will slow the growth of your plant and ultimately lead to a smaller, less potent harvest.
Choose Your Fan
Your grow room will need two main types of fan: inline duct fans and oscillating fans.
The first type, also called active exhaust fans, is connected to a charcoal filter and hung from the top of your grow tent, where the fan pushes air into a duct, which leads to the outside where the air is expelled. This creates negative pressure in the tent, which naturally pulls fresh air in through passive vents near the floor.
For this type of fan you will need to calculate the minimum CFM (Cubic feet per minute) required for your grow tent, with a recommended 1-3 complete circulations per minute. This means that for a 4x4x6 grow tent of 96 cubic feet, you will need a CFM of 96-288. Tents 4×4 or larger should use a 6 inch diameter fan, while smaller tents should use a 4 inch fan.
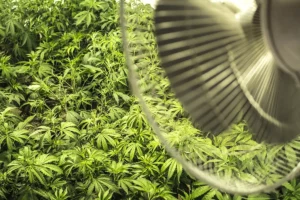
You will also need at least two oscillating fans to circulate air inside the tent: one pointed at the top of the canopy, and the other at the roots. This increases CO2 access for the leaves and keeps pockets of wet, still air from developing and causing mold issues.
Choose Your Pots
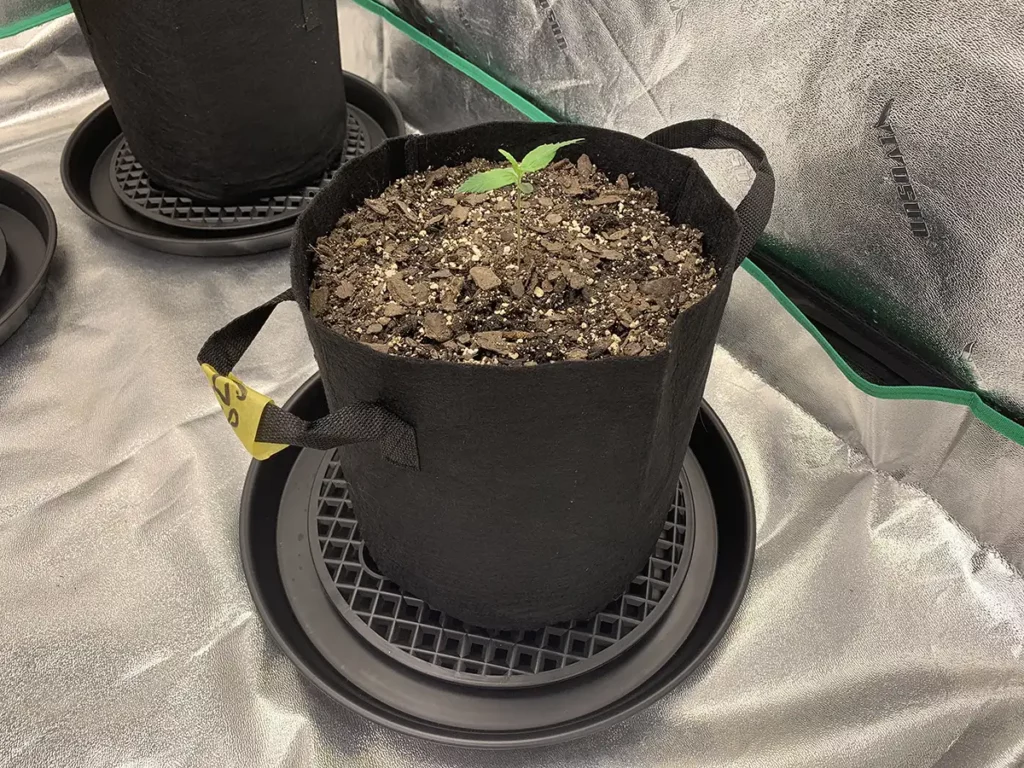
The most common choice for Cannabis plants grown in soil is fabric pots. These are lightweight and provide good aeration to the roots. Many types of fabric pot are available on the market with additional water-retaining or airflow-increasing properties depending on your individual needs. If you are in a pinch, drilling holes in a plastic pot can be an acceptable substitute. Classic terracotta pots provide good aeration, but they are very heavy and can break far more easily than other pot types.
Photoperiod cannabis plants will go through several changes in pot size over their lifetime. They can be started in a small 2-3 inch diameter plastic pots (solo cups are a popular choice) at germination, and be moved 1-2 more times before finishing in a 5 gallon fabric pot.
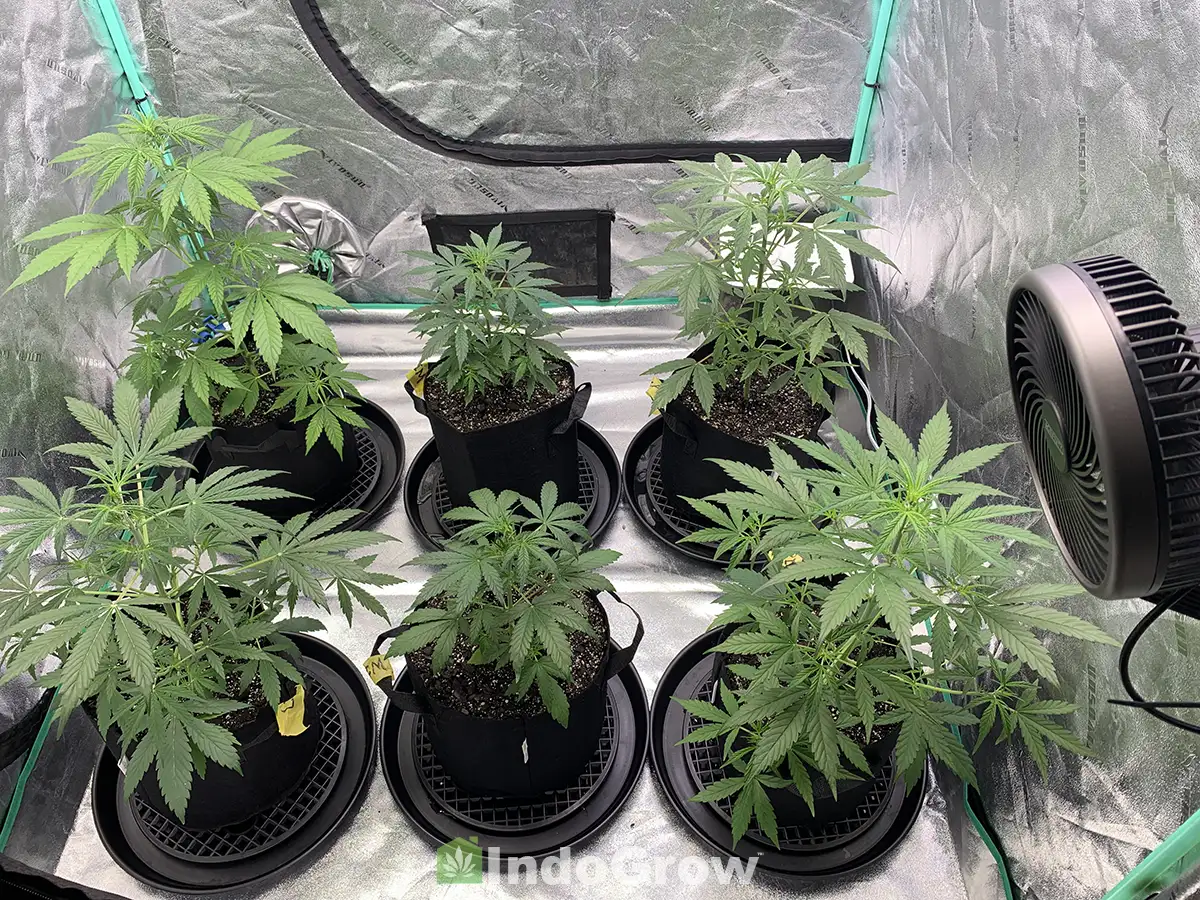
Autoflower plants should be planted directly into their final pot after germination. A three gallon pot is usually sufficient for autos since they mature faster and have a smaller overall size than photoperiod plants. Some growers still prefer 5 gallon pots for autos, however. You can fit up to six 3 gallon pots in a 4×4 grow tent and up to five 5 gallon pots.
Choose Your Growing Medium
Soil is the classic choice for growing cannabis. It holds moisture well and provides nutrients for the first few weeks of the plant’s life. You can make your own soil mix, or purchase one like OceanForest or Happy Frog from FoxFarm.
Non-sterilized soil can be prone to pests, and heavy soil mixes may suffocate your plant’s roots. To combat this, perlite is often added to the soil mix to increase aeration and improve the soil’s ability to drain water.
Another popular soil alternative is coco coir. This ground coconut husk product has many of the same properties of soil, but is sterile and has good drainage properties. However, nutrients must be added to coco coir right off the bat since it does not naturally contain the nutrients a young plant needs to develop. Coco coir and soil can also be mixed in various ratios to get a mix of the properties of the two.
Cannabis plants can also be grown hydroponically, in only water. This greatly increases the efficiency of the roots. However, similar to coco coir, nutrients and pH stabilizers must be added from the start to support plant growth. Clay pellets are often used in hydroponics systems to weigh the roots down and give them something to anchor onto.
Choose Your Nutrients
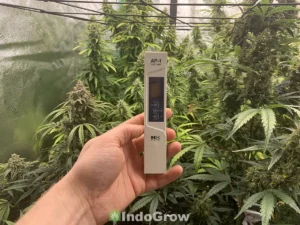
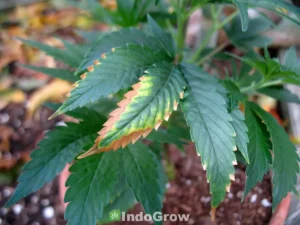
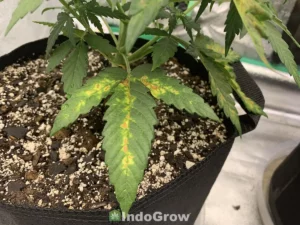
The three major nutrients needed for growing cannabis plants are nitrogen, phosphorus, and potassium. Fertilizer labels may abbreviate these as NPK. Plants grown in soil will likely have enough nutrients to grow on their own for the first 3-4 weeks, while plants grown in pure coco coir or hydroponics systems will need nutrients added right away.
When selecting a fertilizer, the ratio of macronutrients will be listed as a percentage in NPK format. For instance, a 9-5-8 fertilizer has 9% nitrogen, 5% phosphorous, and 8% potassium. For the vegetative phase, pick a fertilizer with high nitrogen, moderate phosphorus, and high potassium. For the flowering phase, pick one with low nitrogen, medium-high phosphorus, and high potassium. Always read the instructions on the fertilizer and start with a half dose until you determine how it will affect your plants.
In addition to these, your plant will need other micronutrients such as calcium, magnesium, sulfur, manganese, iron, zinc, and copper. These will usually be present in small quantities in both synthetic and natural fertilizers.
Natural soil additives such as bat guano and worm castings can add both macro and micro nutrients to your soil, and improve your yield. The addition of mycorrhizae, networks of small fungus filaments, can also benefit your plant. The mycorrhizae form a symbiotic relationship with your plants roots, and cause the roots to become more efficient at collecting nutrients from the soil.
Get Seeds or Clones
Seeds can be purchased locally or online from reputable seed banks. Be sure to look at third party reviews of the seed bank before placing an order as some will have much higher quality products and customer service than others. Avoid purchasing seeds from sites based outside the US. Although there are no known cases of buyers being arrested for ordering seeds through the mail, the seeds may get damaged in transit or confiscated at customs.
Don’t bother attempting to collect seeds from dried buds. These seeds have a low germination rate, and potentially unknown genetics. In addition, seeds from a seed bank are usually feminized, which means that the majority of plants will be female. Since a single male plant releasing pollen can ruin the quality of your grow, using non-feminized seeds is rarely worth the risk.
If you want to start from a clone, you can use sterilized pruning shears to remove a branch of an existing plant at a 45 degree angle below an active growth point. Add root stimulator to the cut and plant in a moist soil plug. Alternatively, some dispensaries offer clones as well. Clones should be kept in warm, high humidity environments until their roots develop.
Germinate Your Seeds
Marijuana seeds can be germinated using several different methods. The paper towel method is the most popular and involves placing the seeds in between moist paper towels for 1-3 days until the seed begins to open. After the tap root is visible, place the seed into a premade hole in the growing medium.
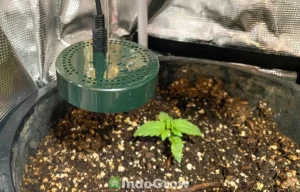
Another simple way to germinate cannabis seeds is to plant the seed in a rooting cube or a small starter pot. The substrate should be moistened but not soaking wet, then placed in a plastic nursery dome to keep humidity up until the plant grows its first true leaves.
Before either method, many growers will soak their seeds in a glass of water for 12-24 hours to soften the shells and prime the seeds for germination. Soaking is especially recommended for older seeds.
Pro tip: The absolute easiest way to germinate your seeds is to simply soak them in water for 2-4 days. No need to move to a paper towel or cube. Once the taproot is visible, plant directly in soil. Contrary to popular belief, the seeds can be left submerged for up to 7 days without issues.
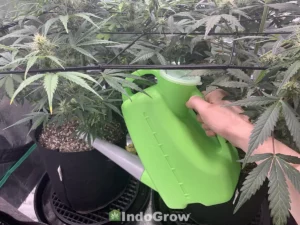
Water Your Plants
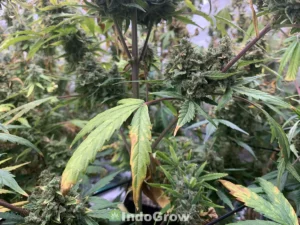
The most common problem by far for new growers is not watering properly. Cannabis plants thrive when exposed to both wet and dry cycles so it’s important to let your plants adequately dry between waterings.
Overwatering is much more common that underwatering. Cannabis plants typically need to be watered every 3-5 days. This can vary based on pot size, strain, and grow conditions. Start with every 5 days and increase frequency as needed.
We recommended always watering until the first signs of runoff. This ensures that the growing medium is completely saturated and provides a baseline for future waterings. It’s important to water slowly since you may otherwise be left with more runoff than intended.
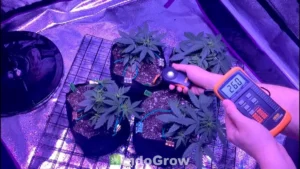
The most common method to know when to water your plants involves sticking your finger 2 inches deep into the growing medium. If it’s obviously dry, then it’s time to water. If it’s still moist or you’re unsure, then hold off. If plants are wilted early in the day and perk up after watering, then reduce the days between watering by one day.
Train Your Plants
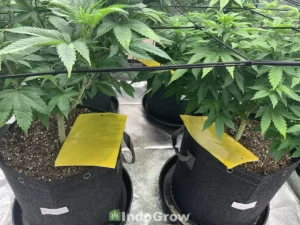
Once plants have reached the vegetative stage, you can begin training your plant’s growth habit to increase yield. Popular methods include low stress training (LST), scrogging, and topping.
Low stress training involves bending the top of the plant and tying it down, so that it grows horizontally. Lower branches can also be spread out and tied horizontally to create a low, wide canopy. This increases the amount of light hitting the lower canopy of the plant and leads to larger buds across the plant at harvest time.
Scrogging, or the screen of green method, involves training branches of the cannabis plant through a screen in order to space them out and increase light and air penetration to the entire plant. This is a great method to make efficient use of a small growing space.
Topping is the process of pruning the main stem and side branches of the cannabis plant. This causes the plant to branch out and create a larger number of stems, eventually creating a denser, fuller plant. Be careful to give your plant sufficient recovery time in between cuts, or it can become stressed and more susceptible to disease or other health issues.
Harvest Your Plants
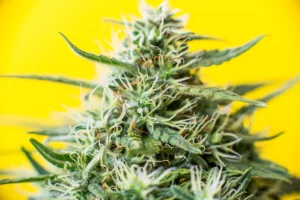
Most plants will be ready for harvest after flowering for 8-10 weeks. Inspecting the plants trichomes is the most reliable method to tell when the plant is ready for harvest.
Wait until the buds display a 50/50 mix of milky white trichomes and amber colored ones. Clear, transparent trichomes indicate that the buds are not yet ripe.
Trim Your Plants
Fan leaves should be removed and discarded after harvest, since they contain very little THC. The rest of the buds and sugar leaves can be hung to dry while still on the stem in a cool, dark place.
Although the sugar leaves are not good for smoking, they’re still covered in trichomes and can be used to make edibles and concentrates.
Dry Your Bud
After hanging, the buds should dry for 7-14 days. They will be ready when the stems snap instead of bending, but the buds are still firm and not brittle or dusty to the touch.
Attempting to dry the buds too fast may negatively affect the potency and flavor of the final product.
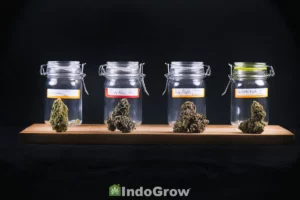
Cure Your Bud
After air drying is complete, place the buds into airtight glass jars with Boveda 62% humidity packs and store in a cool, dark place. Burp, or open, the jar every day or so to let in fresh air and inspect the buds for signs of mold.
After 2-3 weeks, the buds should be ready to smoke. Although waiting to smoke the buds can feel difficult, properly cured buds will be less harsh and have a better flavor than those that are not cured properly.
Summary
Careful selection of seeds, lights, fans, fertilizers, and growing mediums will ensure you set yourself up for a successful first cannabis grow. During the grow, temperature, humidity, and nutrient levels must be monitored and adjusted to keep your plants developing well.
After 4-8 weeks of vegetative growth, and another 6-10 weeks of flowering, your plant will be ready for harvest. Once the flowers are harvested, you must account for another week of air drying, as well as 2-3 weeks of curing in a glass jar.
Finally, after all this waiting, you will be rewarded with high quality, homegrown buds that are ready to be enjoyed in any way you choose.
Rocky Horton
Author
Rocky Horton is an experienced cannabis grower and the founder of IndoGrow. The IndoGrow editorial team has over four decades of combined growing experience. Learn more.